
Advantages of this root method
- is safe for your phone, even if the root will not work for you (ex: phone not supported)
- will not break your warranty because will disable the Knox flag and can cover up all root tracks by unrooting and restoring/updating the last stock firmware
- is very easy to use and works on both Android 4.3 and on lower versions
Supported phones for this 4.3 root method
Below are a few of the phones either tested by us, or that others confirm working with this root method but very well may work with other phones especially those with Snapdragon chipset.
We basically tested Samsung phones because for android 4.3 root is needed in order to unlock the phone online by usb cable,but is working for other brands like htc or motorola.
- Galaxy S4 i337 i337M M919 M919V i9505 i9506 i9507 i9500, I9500, L710, L720
- Galaxy S4 mini i257 i257M I9190 I9192 I9195 I9195L
- Galaxy Note 2 i317 i317M T889 T889V N7105
- Galaxy Mega I527 i527M I9200 I9205 , S4 Active I537 I9295
- Galaxy S3 i747 i747M i747U T999 T999V T999N I9300
- HTC One,Motorola Razr HD, Razr M and mb866 and a lot more
This will not damage in any way your phone if you just try it and is not working, so if your phone is not in the list above can give it a try of course after making a backup.
Files needed before Samsung rooting:
Steps to perform for android 4.3 root:
1. Download the files needed before rooting you Samsung device
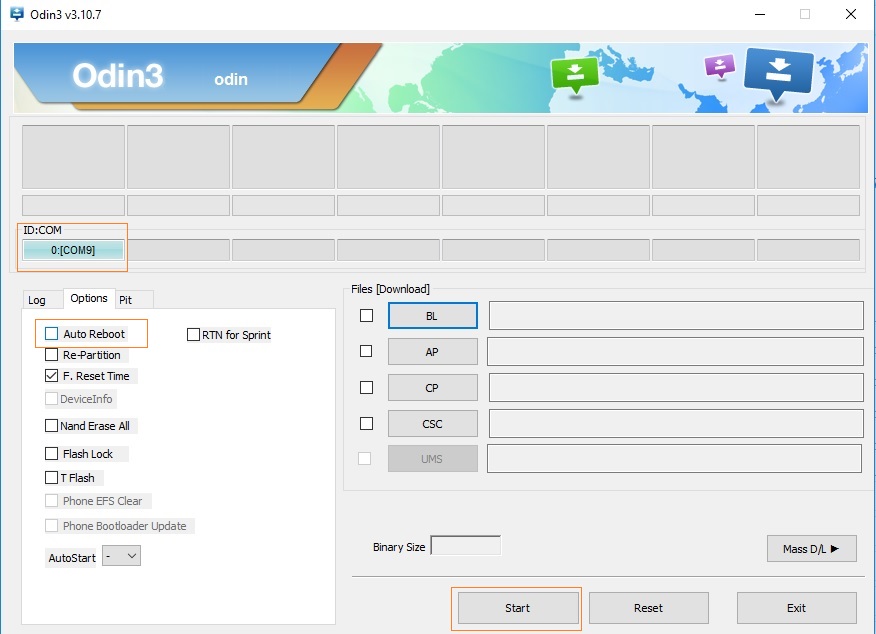
2. Extract Safe root files on your desktop and install the Samsung drivers
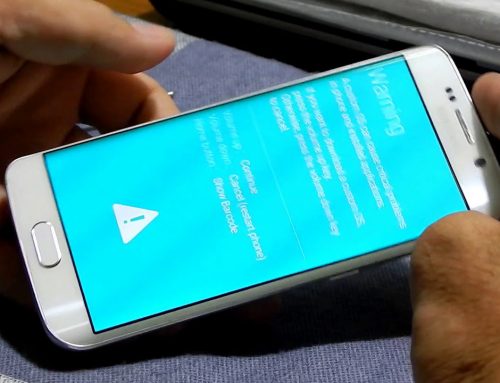
3. Enable USB debugging on your smartphone, by going to Settings/Developer options.If you do not see in settings the Developer options, you need to go to Settings/About and tap 10 times on the Build number until you will see “You are now a developer”
4. Connect the phone to pc and wait untill the drivers are installed
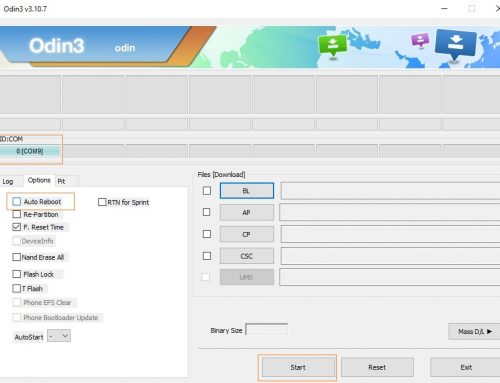
5. From the folder “Safe root”, double-click on “run” and a command prompt will open
6. You are asked to press “Press any key to continue . . .”,do that and the root should begin. If the adb driver is detected in Device manager and installed and is no prompt on the phone to allow USB debugging, but the program still seems stuck with the last line
“* daemon started successfully *”
Please reconnect the phone and if phone asks to allow USB debugging, select “Yes”
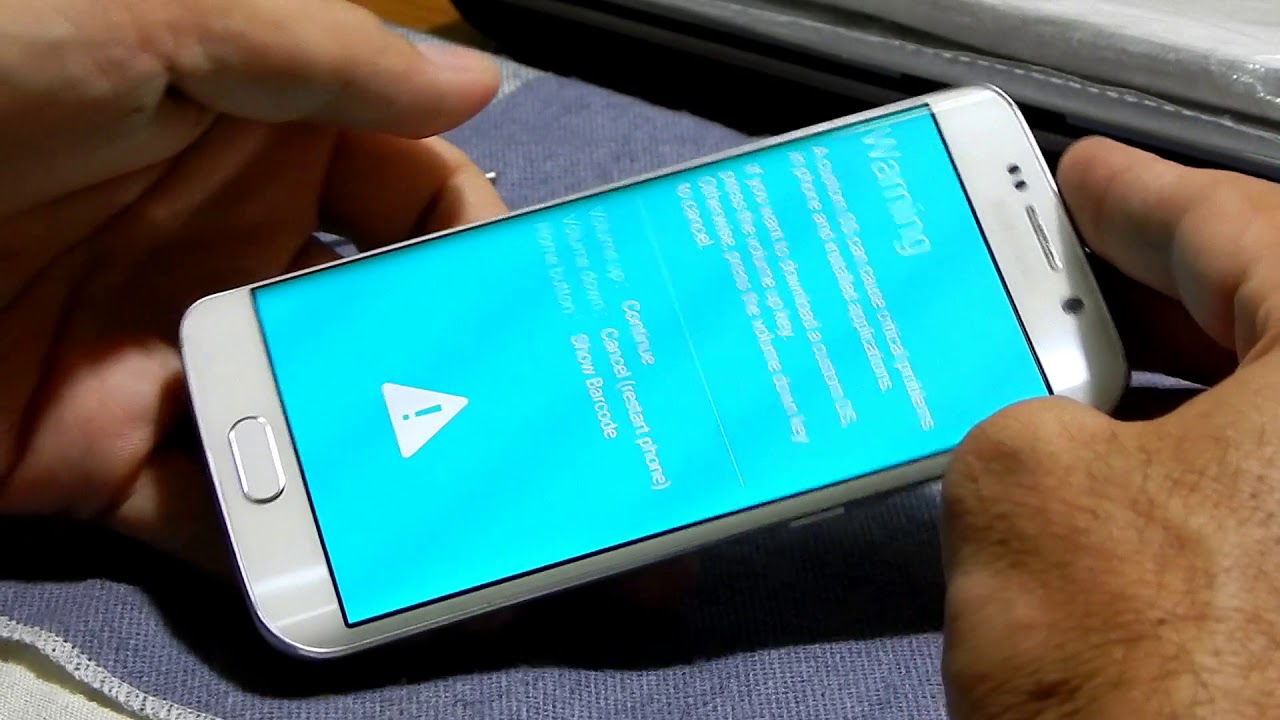
7. The root should take about 1-2 min and then will ask you to ““Press any key to continue . . .”.Please do that and your phone will reboot. The root is basically done, now will be done the Knox disable part.
8.After the phone turns on if the phone is not detected, not asking to allow debugging by pc again and program seems stuck on “Waiting for device …” for more than 1 minute, just reconnect the phone and when ask to allow USB debugging select yes
9. After the phone is found, you should see a prompt on your device asking if you Grant to install Busybox. Please tap Grant on your phone and in a sec the full process will be ready and can close the command prompt by pressing any key.
Please let us know if you had any problems with this root tutorial for android 4.3, if worked ok for you on other phone models that are not mentioned here , or if you tried it on a certain phone and this easy root method did not work so we will recommend you a different way to safely root it
